Wednesday, October 27, 2010

My Graveyard Inhabitants - TUTORIAL

My yard is cool - I'm not going to deny it.  I'm not bragging - just telling the truth.  However, lately I've been feeling bleh about it.  It's been missing something...or someone...or...several someones...

To combat this feeling, I've been busy, busy, busy.  Allow me to present the Gruesome Threesome!


Mr. Bubbles the Clown eats children who take more than one piece of candy.  Count Carpen A. Ter loves the sweet, sugary blood of children who eat too much candy.  And, the witch, well, she doesn't have a name or a back story or a hat for that matter (though she will soon.)  LOL.  Got a good name for her?  Leave it in the comments!

Would you like to know how to make your own?  Let's start.

Supplies:
Some outdoor signs and their ground stakes - look for political signs as they're everywhere right now and work perfectly

Scissors and X-acto knife

Glue gun and glue

Assortment of acrylic craft paints and brushes

Primer (NOT oil based unless that's all you've got on hand) and brush

Yarn - for hair

1) Draw your desired shape out on your sign and cut it out.  For the Gruesome Threesome, I simply did their shoulders, necks, and heads.  I also made some arms and hands - that aren't done right now - LOL.  (Please ignore the one that's wrapped in duck tape - it's a work in progress.  I hope to make it into a mummy.)


2) Prime them with your....primer!  Let them dry and then coat them again.  This gives you a good surface to do your decorative painting on and covers up whatever your sign had been advertising.


3) Once that second coat of primer is dry, paint your design on your body pieces.


4) Make and glue down some yarn hair if you'd like.  If you live in a rainy area, I suggest you coat them with some form of clear sealant or varnish.  I haven't tested mine in rain yet, but I highly suspect the paint might run if it's not 100% dry. Once they're done to your satisfaction, slip that stake back into them and place them in your yard.

I'd show you pictures of them in my oh so cool yard, but a) they're not completely dry yet, b) it rained today, and c) it's too dark to take pictures outside anyways.  So, you'll have to wait until tomorrow.

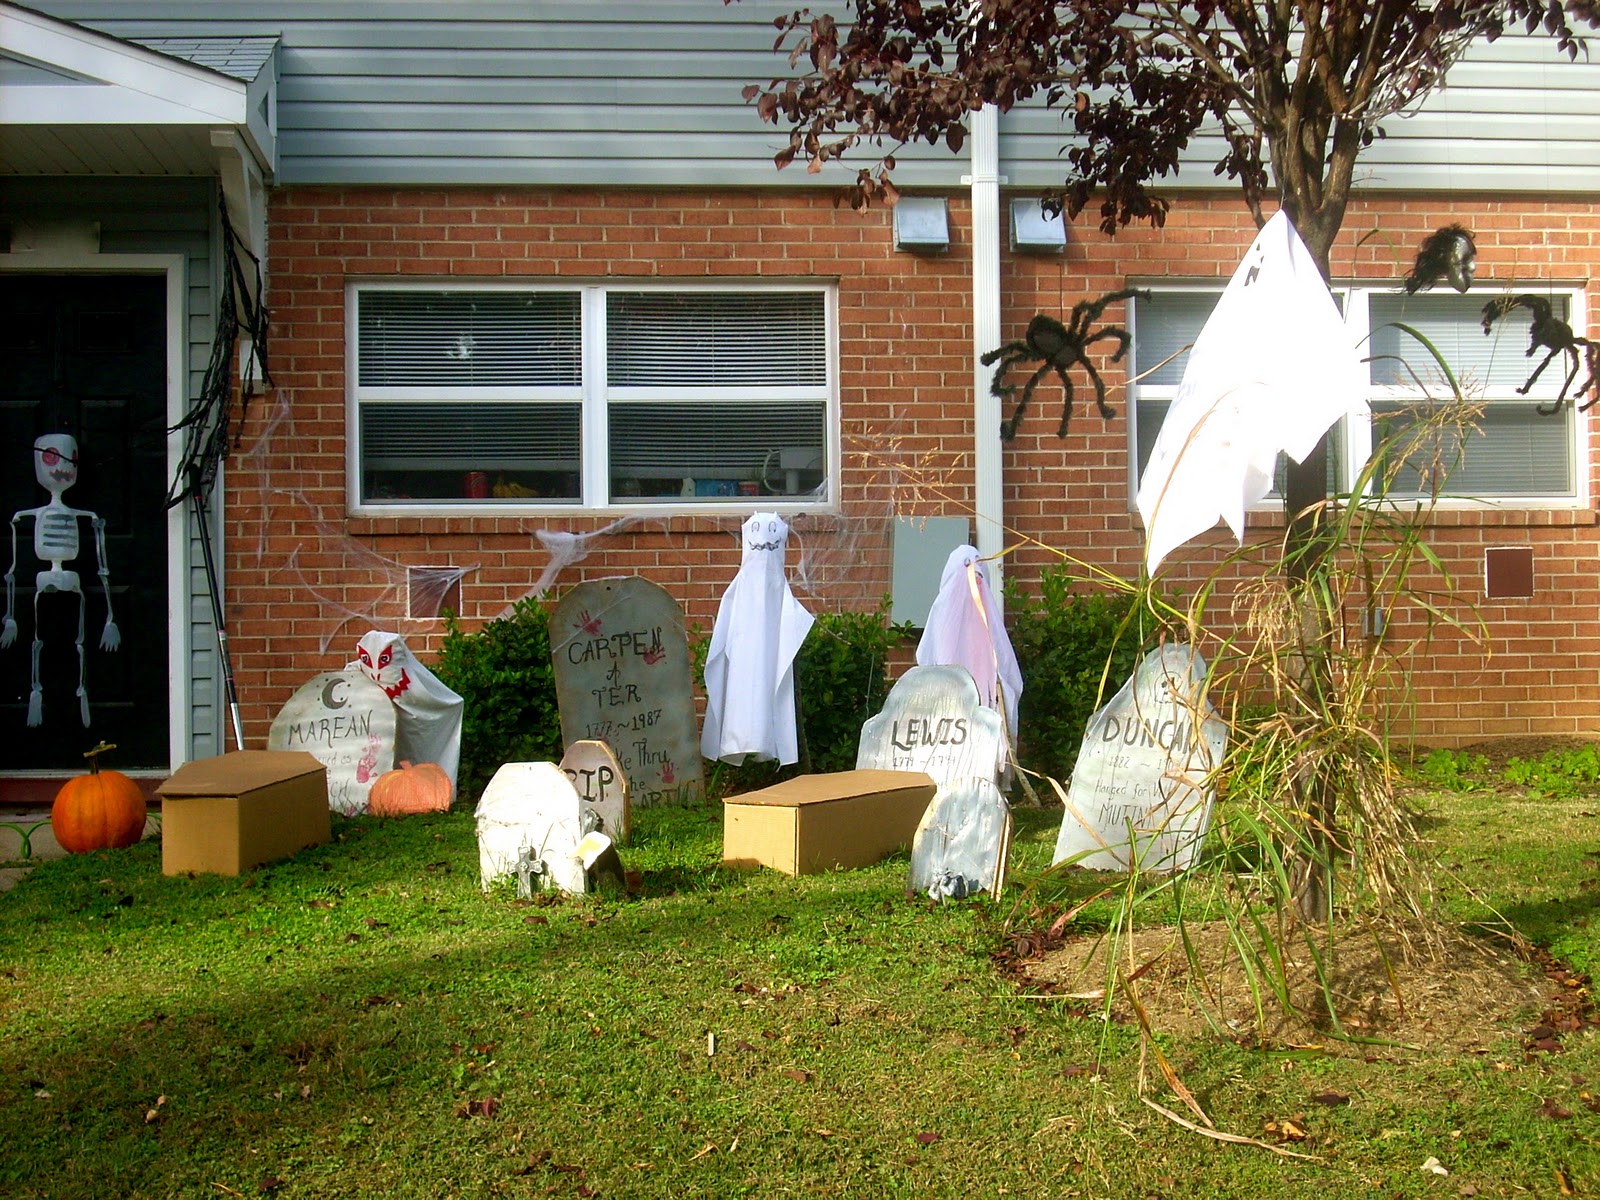
Well, I think I am going to go work on those two rogue sets of hands.  Maybe they can be zombie hands for over by my tombstones.

There're three days left until Halloween.  It's not too late to decorate your yard!  Happy crafting.

Monday, October 25, 2010

Halloween is when?!

Hello.

I've been pretty busy lately.  However, that busy-ness hasn't translated over to the blog and I'm sorry about that.  To make it up to you, how's about a tutorial?  No?  Hm...  How's about several?  Okay.  I can do that.

First up: Let's finish hanging up those bats, shall we?


Take your sticky backed Velcro and cut out little squares.  Attach a little square of Velcro, with both the hooks and loops together, to each of the wings and then stick to your house.  Ta-da.  All done.

I decided to cut out a free-hand spider which, as you can see, is munching on one of my bats.  It shouldn't have flown in so close.

**************************

Second: Creepy black things that float in the wind - a.k.a. Witch's Curtain

This comes from the Martha Stewart website.

If you didn't know already, Martha Stewart's web page (this takes you straight to this year's templates) has just about everything her special $10 Halloween magazine has in it.  So, save yourself some dough you could spend on outside decor and check it out.

Anyways, I was browsing around and stumbled across her Witch's Curtain.  You take your basic black trash bag and cut it into strips.  Then you tug on those strips and stretch them out.  If you follow Martha's instructions, you end up with one curtain from one bag.  I cut across the top and up the side slits and ended up with two.  I guess it's a matter of taste.  Anyways, be careful with your tugging since that plastic is really thin and easy to rip.

**************************

Third: What do you get with a disposable pie tin, a small branch, some white fabric, hot glue and a glue gun, and some needle and thread?


A GHOST!


Take your pie tin and wash and dry it thoroughly.  Then hot glue your stick to your tin.  Drape your fabric over your rudimentary ghost.  Pull your fabric down by what would be the ghost's ears to form a rough neck and shoulders.

Hot glue the fabric to the pie tin at the top of the head and to both of the arms.  Thread your needle with about 2 feet of white thread and tie a knot in the end.  Stitch through the fabric at the top of the ghost's head and pull the thread out til it's even with rest of the thread.  Tie a knot and then snip off the needle.  Put a knot in that end of the string and it's ready to hang.


Feel free to paint a face on your ghost.  Eyes and a mouth seem to work out well.  I used black acrylic craft paint.  I can tell you from past experience, the paint will run if it isn't allowed to dry a day or two, so keep that in mind when you're putting them outside.

**************************

So, yeah.  That's all I've got for you tonight.  Here's some pictures showing what we've been up to lately.


I made these last night.  I used one very large box and cut it in half.  I didn't take any pictures of my process, so I'm not including it as a tutorial.  However, I am certain you can easily figure these out.


Here is Mr. Bottle Bones:


He's pretty cool, even if I do say so myself.  Here's the link to Disney Family Fun and his instructions.  They say you'll need 8 or 9 milk jugs.  I used 6 since I'm just that crafty.  Oh yeah.

Here's the front of the house so far:


If I lose the yard decorating contest this year, it better be to someone that deserves it!  The only things in this yard that weren't made by me are the chains on the fence by the witch, the red thing hanging by the door (it's a demon?), the shrunken head and spiders in the tree, and the pumpkins.  Oh, and the cobwebs.  So, yeah.  I'd do a tute on the witch, but, again, I didn't take pictures of the process so you're out of luck. However, I am working on some last minute corpses for the tombs, so I'll try to remember to take pictures of that for you!

I leave you with my pretty lovie:


We imported those pretty leaves from a neighbor's yard since we've only got a young Japanese cherry blossom in ours.  Happy crafting!

Wednesday, October 13, 2010

Sorry Guys

I'm sorry I've been neglecting you guys lately.  It's the end of our soccer season and I'm team mom, I've got a craft fair coming up this weekend, and I've just generally been feeling down since we found out The Daddy-Man will soon be off to The Land of the Morning Calm (Korea) for a year.  So, please bear (or is it "bare" - neither really make sense) with me.  I should be back next week on a more regular basis.  Hopefully I'll have a couple tutorials for you then.

Thanks.

Tuesday, October 5, 2010

Notice anything.....different?

Today we went on down to Laurel, MD to pal around.  We had lunch at Taco Bell.  We stopped in at the newly opened Hobby Lobby - and, I must confess, I was underwhelmed...  We got a new toothbrush at Target and some new ribbon at Wal-Mart.  It's too bad I forgot to pick up some more Velcro sticky discs though - as that's what I was supposed to be showing you guys today.  Oh well.  Maybe tomorrow.  However, we did stop to play with some cool masks.  That's got to count for something, right?


So, hm...  Do you?  To clarify, do you notice anything different?  


If you said, "Hm...Missy Moo's hair looks shorter," you'd be right!  We've been toying with the idea of cutting her hair for a while now since I can't seem to keep it tangle and food free.  She constantly amazes me with her ability to get dirty!  For instance, last night I gave her a bath and within half an hour she'd gotten something in it - I don't know what or how, but I suspect it was toothpaste.

Anyways, enough was enough and today it got the chop!  Take a look!


Allow me to present Missy Moo and her new haircut!


This was her first haircut ever - if you don't include the time I had to cut the bubble gun out of her hair.  I really like it and she seems to be liking it too.  


I'm not sure if the hair stylist lady is holding up a "Peace" sign or is pretending her fingers are scissors, but peace out.

Monday, October 4, 2010

It's time to.....get BATTY!

Tonight I am taking time off from making hair bows to make some Halloween decorations.  I've been terribly lazy this year regarding Halloween decorations, so it's time to get started.  Without further ado, allow me to present my BATS!


I plan on hanging them from the vinyl siding on my front porch area.  I'll do a tutorial on that tomorrow - as it is too late for me to be dragging a chair outside to get them hung up.


Here's what you'll need to make some of your own:
1/2 yard of black felt - get the cheap kind, not the wool.
Velcro sticky back coins - like the ones shown.
Scissors
Optional: Glitter and glue - for the eyes and wings


First, you're going to have to snoop around the internet looking for pictures of bats that you like.  Here's the ones I found:
Coloring Pages for Kids: Upside down bat
Cksinfo.com: Bat clip art
Bats.org: Flying bat
Martha Stewart: Bat image
Firefly Forest: Bats at hummingbird feeders - these pictures are especially amazing!


You can either print them and use as your template or you could just trace them on your computer screen like I did - just pull up the image and hold a piece of paper on your monitor and trace around the image.


If you want to enlarge them, just trace around your image about a centimeter away from your original drawing.   FYI: The smaller bats don't work out so well unless they're long wing-wise.


Anyways, cut your templates out.


Lay them on top of your black felt, pin, and cut around the template.


Take your bat and put two dots of glue for their eyes.  Then sprinkle some glitter on the dots.  Ta-da!  Now you've got eyes.  Do the same for the wings.

Shake off the excess glitter - which is hard since it likes to stick to the felt.  And then, you've got a finished bat!

For tomorrow, I'll talk about putting them outside.  For now, I think it's bedtime.  Yeah.  Bedtime.


Missy Moo seems to like the bats.  She just told me that I need to make bat pie the next time I make pie.  I'm not sure what that is, but perhaps I can sprinkle some cinnamon in the shape of a bat?  I think that'd be cute!  Goodnight!

Friday, October 1, 2010

Owl Art

Today our lovely friends from across base came to visit us!  We had a great day, drinking tea and making art.  If the Big Squid hadn't just come home, I'm sure the super Squids would have joined us as I know the biggest, baddest Squid LOVES owls.


My inspiration for this project came from the ever resourceful Gail over at That Artist Woman.  She's an art teacher out in Canada and she shares her projects over on her amazing blog.  You should take a look at how she did this project since hers was a more involved process.

I will admit to not following her directions entirely.  Sorry Gail.  We had limited time and space and a whole stack of cardstock!  It was inevitable.  Anyways, the backs of these little pretties came from a dismantled Cheerio box.  I took a brown paper bag and cut out two fat, squat bowling pin shapes.  We Mod Podged the bowling pin shapes to the cereal cardboard and then Mod Podged the cardstock feathers down.

Before our guests arrived, I had taken an empty (and washed) egg carton and cut out the eyes.  The pupils were done with paint.  I really LOVE that the owls look like they're staring at you from wherever you are in the room - it's creepy.

Anyways, we Mod Podged down the wings and moon; hot glued the eyes, the beak, the stick, and the feet; and then rigged up a way to hang the owls with some ribbon and hot glue.  Both girls are awfully proud of their creations.


She's tired and hungry at this point.  LOL.  And, she's probably a little cold since we denuded her when we busted out the Mod Podge so they could "paint".


Missy Moo wouldn't let me get a good shot of her face!  She kept lifting the owl.  Maybe she was pretending to be the owl?  I don't know.  Anyways, I really like how the paint in the eyes kind of colored the styrofoam.  The owl looks rather sinister, but in a friendly kind of way.

We later got the great idea of adding some dried leaves from outside to the branches.  I think it adds just a little bit of extra wonderfulness.  Give it a try!